A Step-by-Step Guide to the Solar Installation Process
In this blog post, we’ll illuminate the installation process for residential solar, breaking down each step to help you understand what to expect along the way.
Although each provider might have a different process, most solar companies generally follow these basic steps when installing a solar system.
1. Initial Consultation and Site Assessment
The journey begins with an initial consultation with a reputable solar installer. During this consultation, the installer will assess your home’s energy needs, evaluate your roof’s suitability for solar panels, and discuss your goals and preferences for the solar energy system. They may also provide a preliminary estimate of the system size, cost, and potential energy savings.
2. Design and Proposal
Based on the information gathered during the initial consultation, the solar installer will design a customized solar energy system tailored to your home’s specific requirements. This design will take into account factors such as roof orientation, tilt, shading, and available space for solar panels. Once the design is finalized, the installer will provide you with a detailed proposal outlining the system specifications, cost breakdown, financing options, and projected energy savings.
3. Permitting and Paperwork
Before installation can begin, the solar installer will handle the necessary permitting and paperwork on your behalf. This may include obtaining permits from local authorities, submitting interconnection agreements with the utility company, and completing any paperwork required for incentive programs or rebates. The installer will ensure that all necessary approvals are obtained before proceeding with the installation.

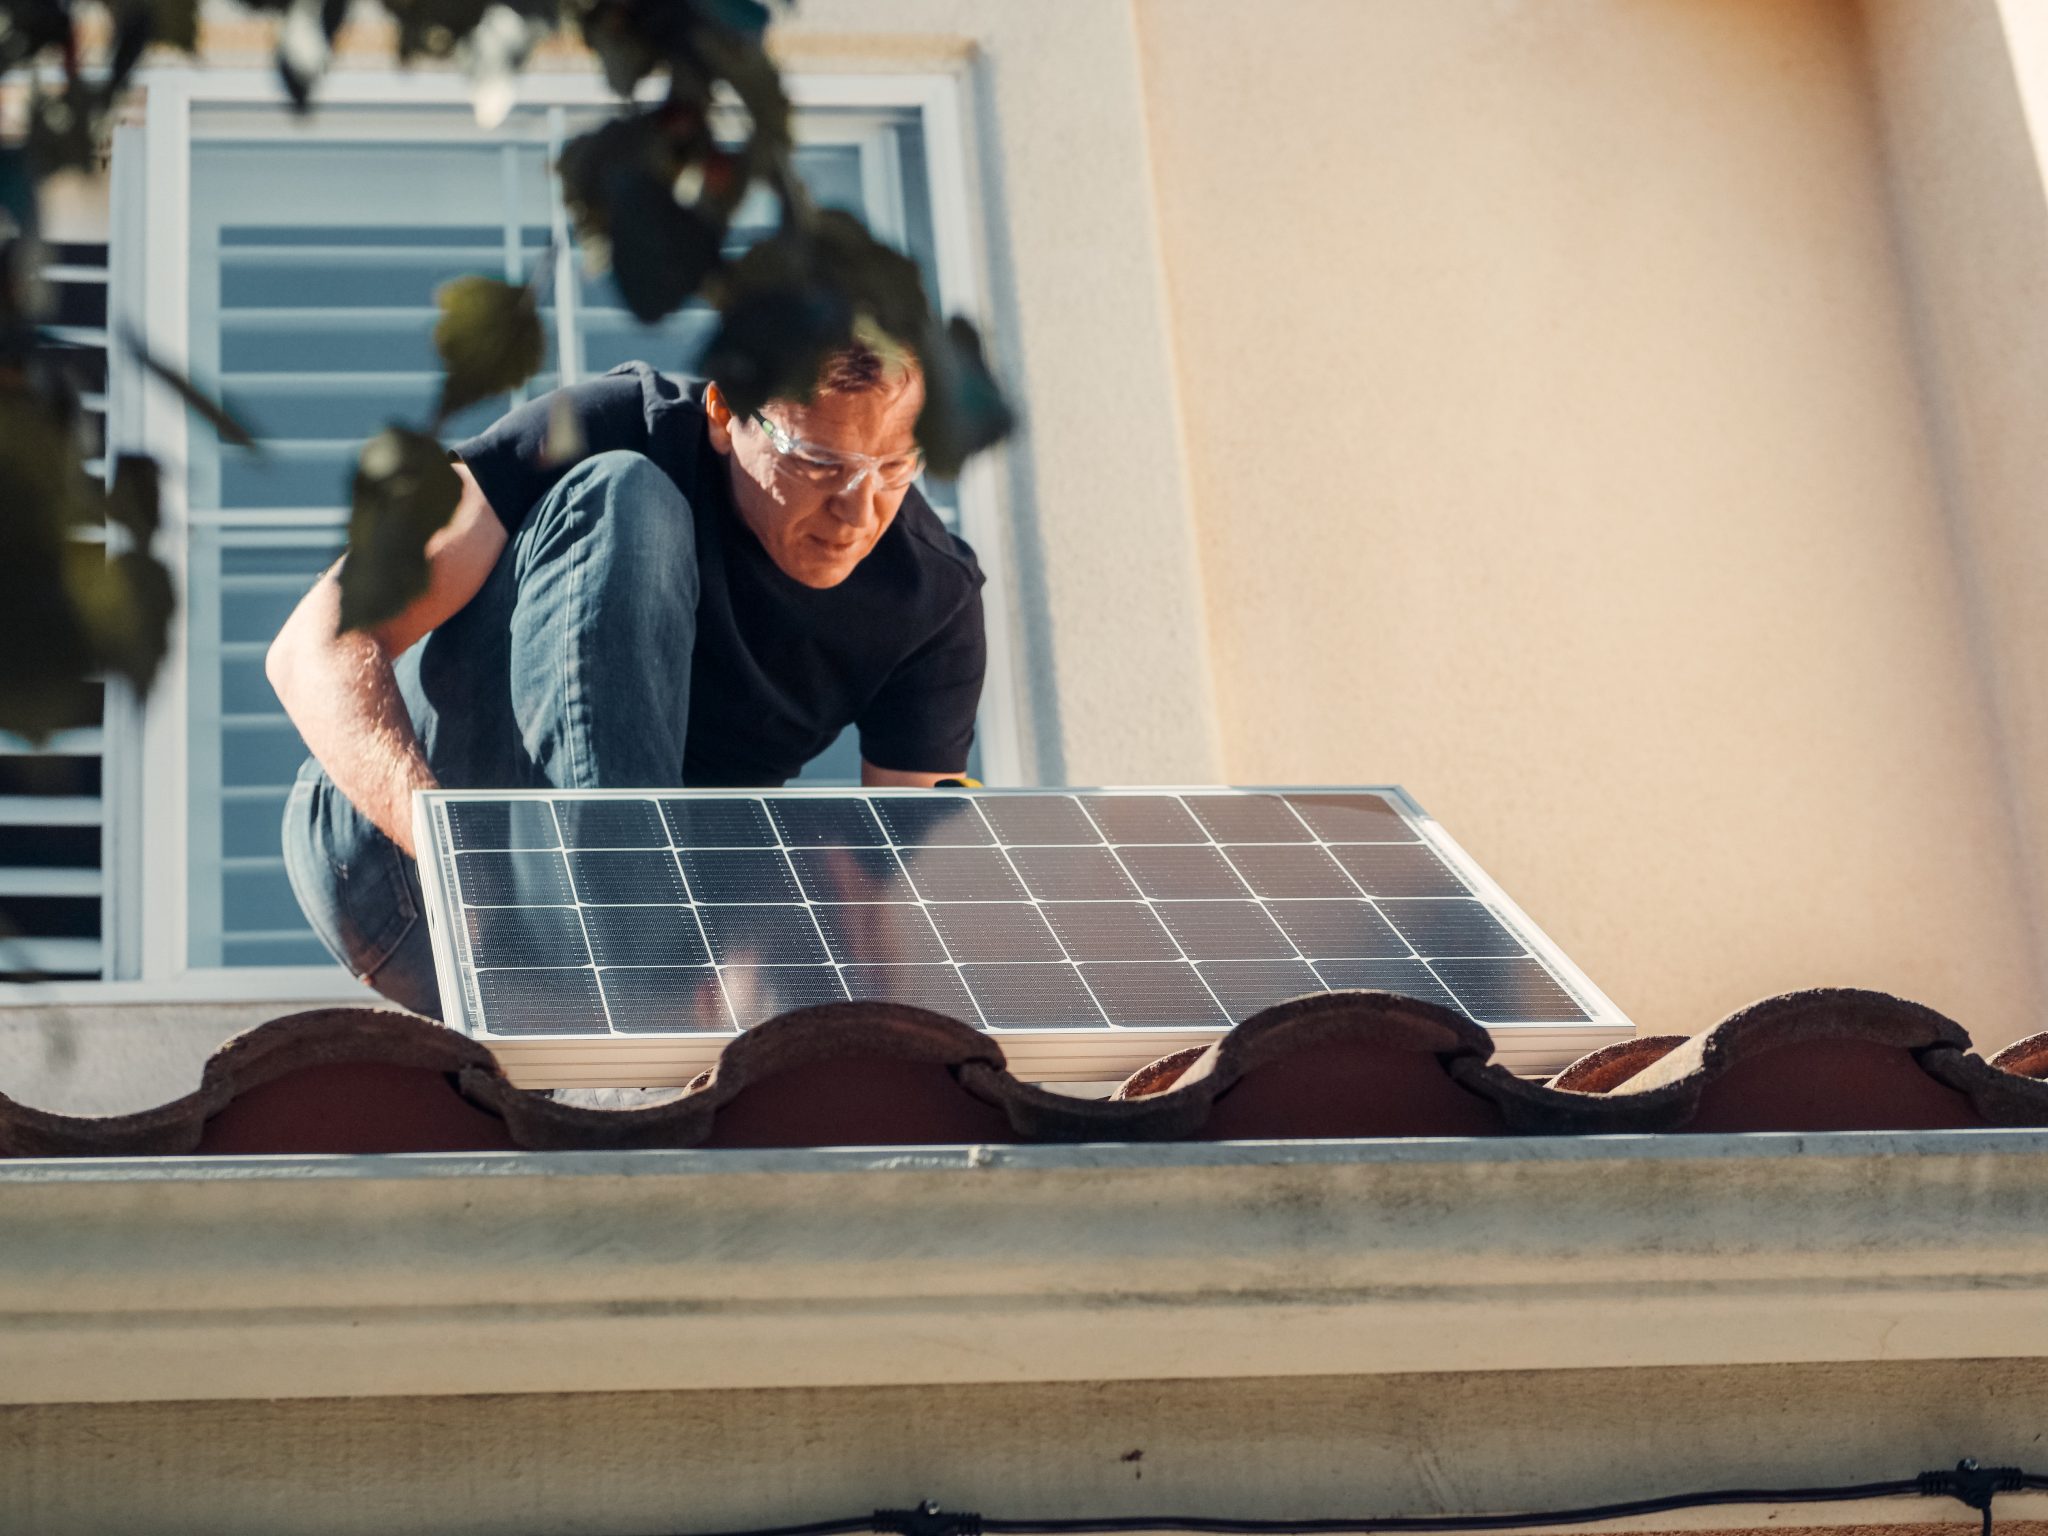
Installation Day
With permits in hand and paperwork finalized, installation day finally arrives. The installation process typically begins with preparing the roof and mounting the racking system that will support the solar panels. Next, the solar panels themselves are installed on the racking system, securely fastened to withstand wind, snow, and other weather conditions. Finally, the electrical components, such as inverters and wiring, are connected to integrate the solar energy system with your home’s electrical system.
Inspection and Activation
Once the installation is complete, a final inspection will be conducted to ensure that the solar energy system meets all applicable building codes and safety standards. After passing inspection, the utility company will install a bi-directional meter to measure the electricity generated by your solar panels and any excess energy exported to the grid. With the meter in place and the system activated, you can begin enjoying the benefits of clean, renewable solar energy.
Ongoing Maintenance and Monitoring
After installation, the solar energy system will require minimal maintenance to ensure optimal performance. Most solar panels are self-cleaning, but periodic inspections and cleanings may be recommended to remove dirt, dust, or debris that could affect energy production. Additionally, many solar installers offer monitoring services to track your system’s performance remotely and identify any issues that may arise, ensuring that your solar investment continues to deliver long-term value.
**Conclusion: Powering Your Home with Solar Energy**
In conclusion, the installation process for residential solar is a well-coordinated journey that begins with an initial consultation and ends with the activation of your solar energy system. With the expertise of a reputable solar installer guiding you every step of the way, you can rest assured that your transition to solar power will be smooth, seamless, and ultimately rewarding. By harnessing the power of the sun, you’re not just powering your home—you’re contributing to a cleaner, brighter future for generations to come.